{Glamorous Gâteau}

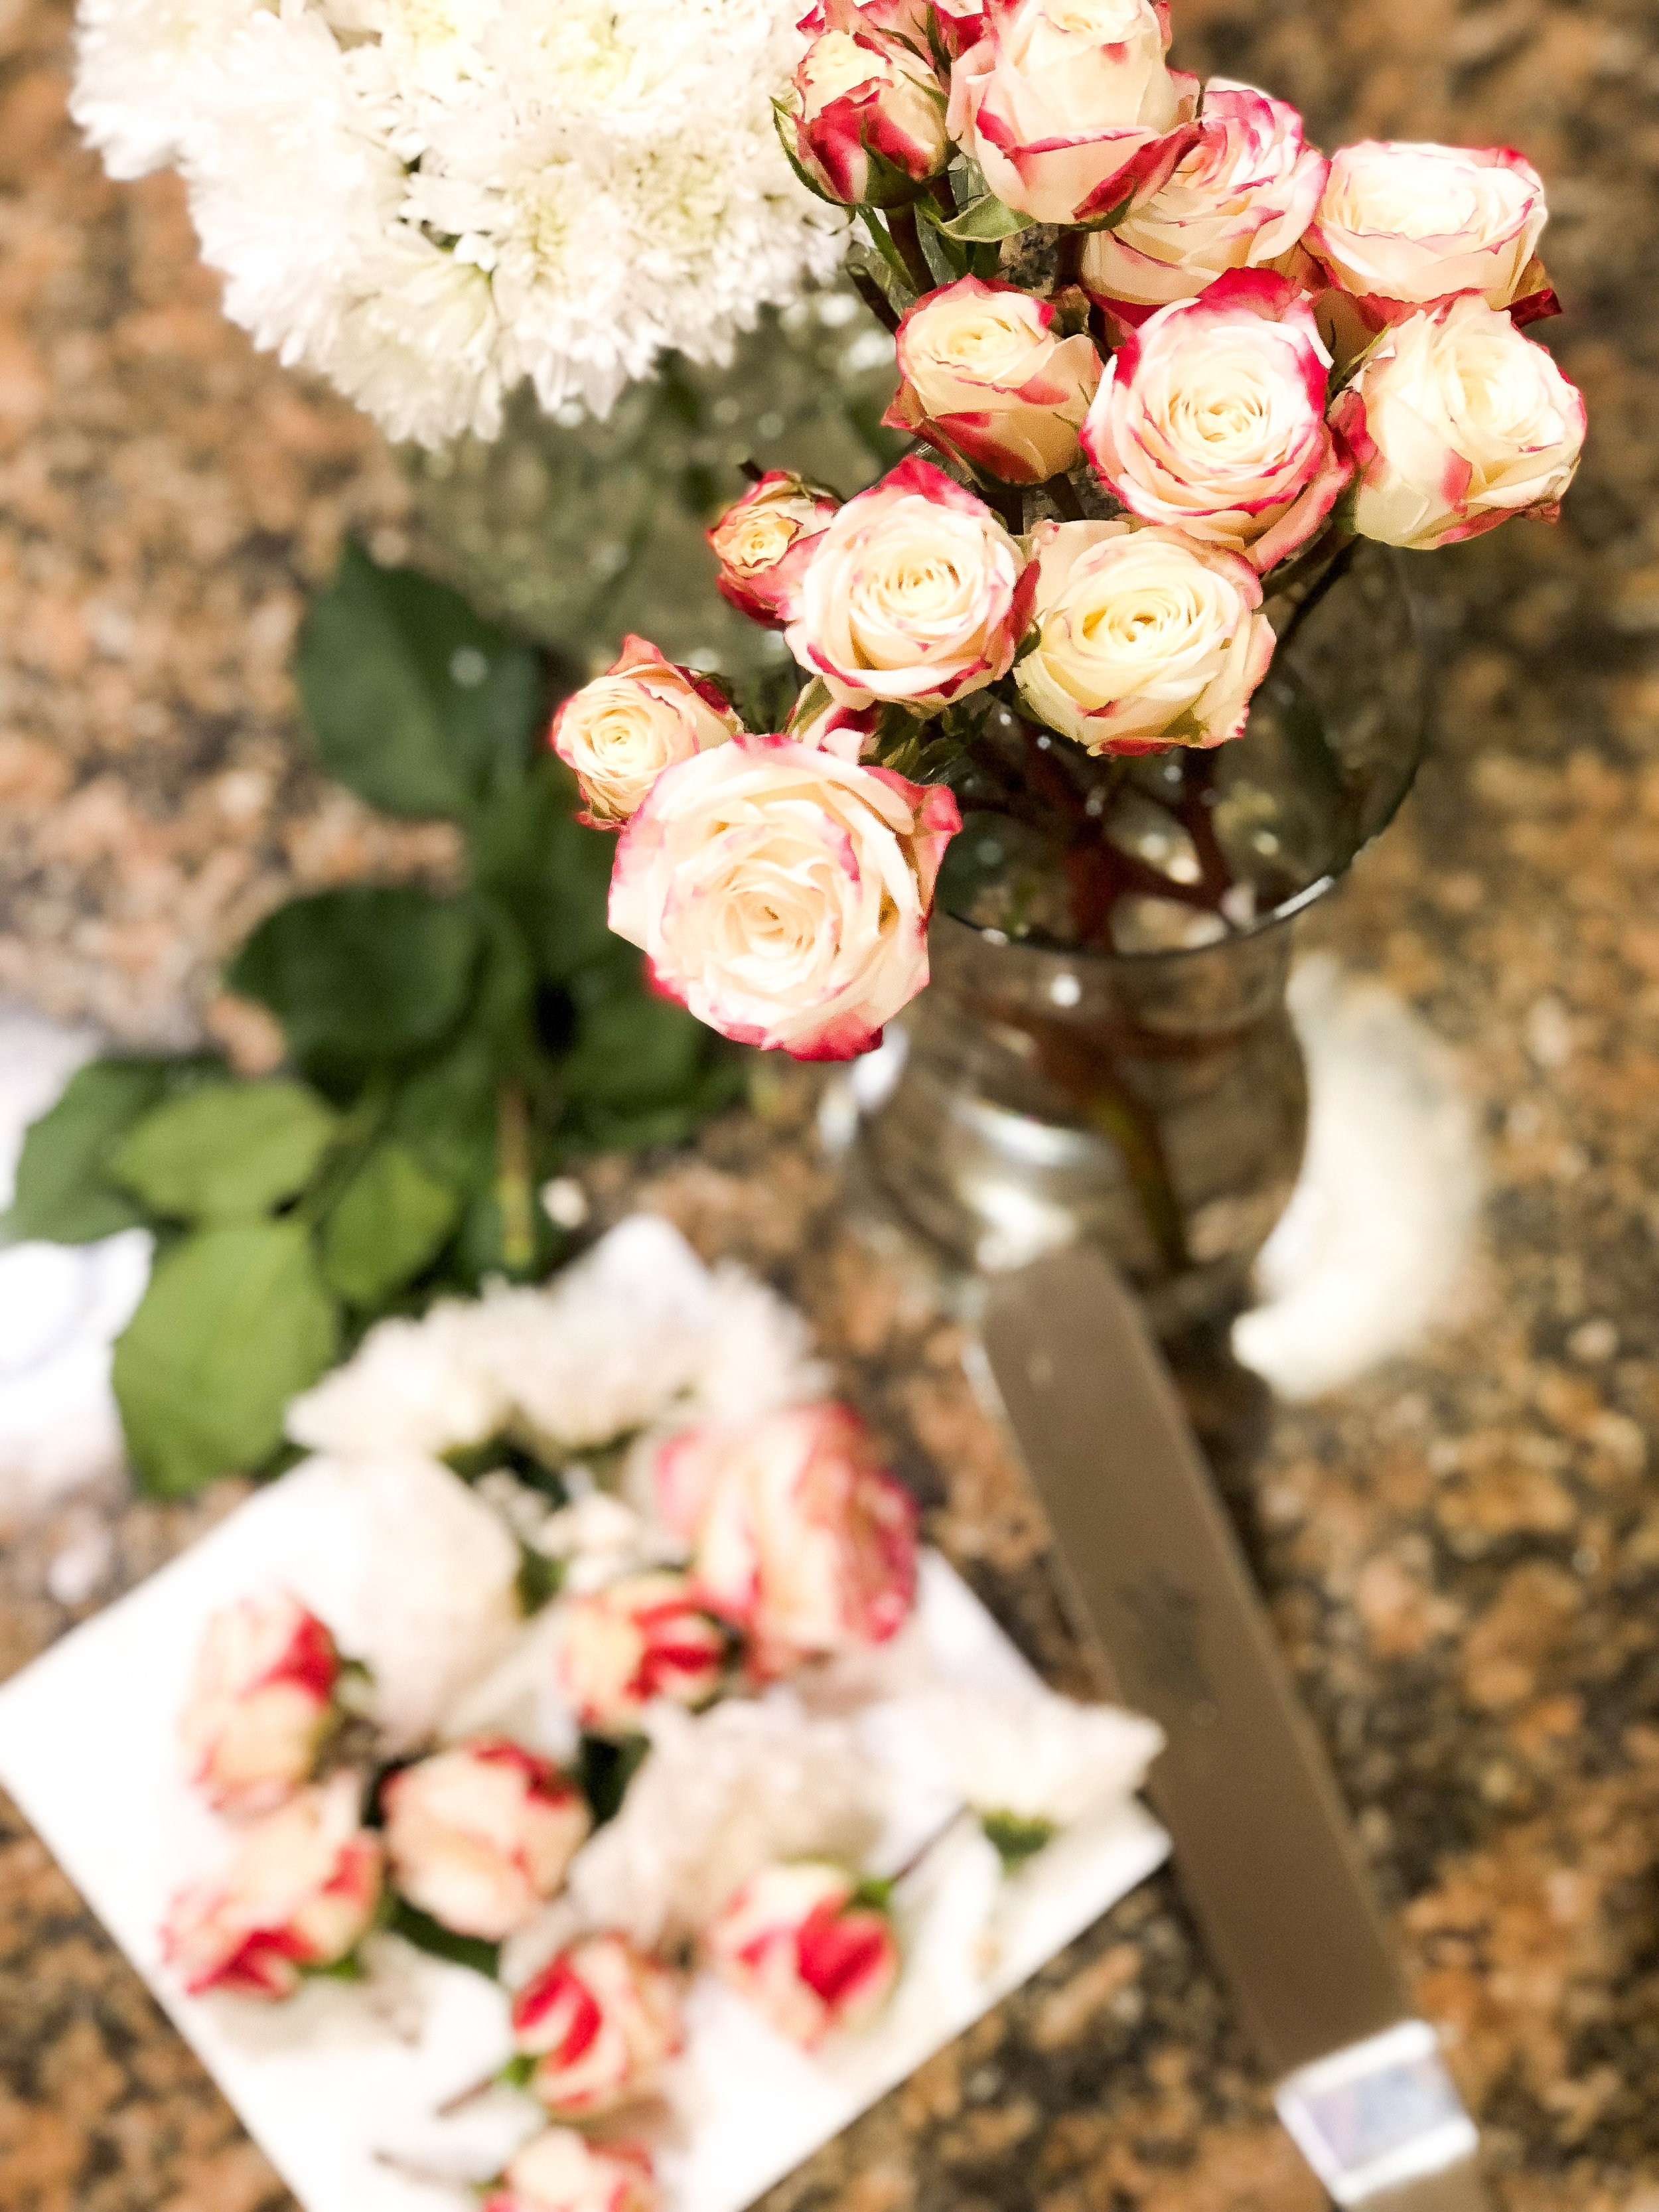
petals extend in all directions, a halo of fragility and refinement gracing the cake. a delicate pink dressing wraps layers in subtle femininity. the combination of delicately curated details conjuring exquisite charm.

plush buttercream and silky strawberry-lemon filling are sandwiched between vanilla layers. frosting coats the outside in sleek fashion, becoming a canvas for ornamentation. icing petals and saccharine swirls build into a dazzling bouquet, topped with glimmering pearls to catch the eye.
Layer cake is the ultimate dessert if you ask me. Rounds of cake that have been painstakingly leveled, even spreads of icing between, a beautifully troweled exterior, and the occasional pizzazz of decor. All of these things coming together in an edible statue exuding grace. There’s nothing like the feeling of making that first slice. Of sliding a sharp knife through layer after sugary layer, pulling away to reveal definite bands of ingredients. Nothing more satisfying than that initial wedge. As a baker, this is the moment it all comes together. You’ve slaved hours over this process and created something beautiful. But it’s all for naught until you get to distribute servings and watch faces light up in detectable delight.
Typically signaling some sort of formal gathering, these confections are the go-to for weddings and upscale birthday parties or events. They’re good for a crowd, not to mention that they can be dressed up nicely to double as a work of art. One of the countlessly admirable facets of these desserts is the idea that every element can be customized without limit. Everything from flavoring to technique can be altered to achieve the desired effect. Want a sleek naked cake with no bells or whistles and a familiar, plain taste? No problem! Want multiple fillings, tiers stacked high, and elaborate detailing on the exterior? That can be done! Want a non-traditional shape or display? Let’s talk!

With boundless possibilities, layer cakes take on the personality of the client and/or the event. A pretty color scheme can be complimented by artfully chosen candles or sprinkles. An elegant affair more memorable with a cake whose bouquet mirrors the other florals. A whimsical party elevated by a fanciful cake.
I could go on forever about all of the things I adore about these cakes, but I also want to leave you with some valuable knowledge. Whether you plan to do some baking yourself, will be ordering a cake soon, or are just plain curious- these tips and tricks will leave you an “expert” of sorts on what goes into my layer cakes.

A Secret for Sturdy Stacking Cake
Trying to achieve a great texture for layer cakes is most definitely a challenge. You want the cake to be moist (sorry if that word rubs you the wrong way), crumbly and delectable. You also want the cake to be firm, hold its shape, and malleable without falling apart. If you’re torn, I’d say err on the side of a more dense crumb. Why, you ask? Have you ever seen a cake avalanche or have drooping sides? Have you ever cut into a cake and instead of a clean slice, you came away with a mauled mess? This could be due to a myriad of factors, but a big part of these problems is weak cake.
If you’re making a single-tiered creation or really do not care about presentation, you won’t be too bothered by this. But if you want that Instagram-worthy layering and easy slicing, you might want to keep reading. I promise a more dense cake tastes just. as. good. And it will make your life a whole lot easier with less stress about a cake imploding!
My secret ingredient for a sturdier stacking cake? Sour cream! I know, I know, some people are disgusted by this product, but it is a foolproof way to ensure your cakes come out of the oven ready to go. I promise it’s imperceptible and that it will not transfer it’s tangy taste to the dessert. Sour cream is a more substantial, condensed dairy product that adds moisture without making your cake batter “wet.” Because it’s thicker than even whole milk or heavy cream, it’ll make your batter less liquidy and more creamy. It’ll smooth easier into a cake pan and leave you with a cake that bakes more flatly. Soo you can even get away with less trimming and leveling…if you weren’t convinced before, this fact alone might just win you over!
Sour cream may not be a cure-all to every cake woe, but it will make the job easier. It’ll lead to more even baking, less perilous stacking, and yield a higher weight-bearing ability. If you were wondering, yes it can be added to any cake recipe or flavor!

The Freezer is Your Friend
Temperature is one of the most tricky parts of the whole layer cake process. You obviously have to bake them in heat and cool to room temperature, but what happens after that? What’s the best temp to store cake at and should it be cold or warm when I’m working with it? I don’t have a super sophisticated opinion, but I can tell you what works for me!
When the cakes are warm, brush with simple syrup so it’ll soak in and turn them out onto racks. Once the cake layers have been brought to room temperature- we’re talking them spending HOURS on the cooling racks- it’s time to do some wrapping in preparation for a new temperature. My best kept secret (which I realize is now out of the bag) is freezing the cakes. You heard me right! I freeze my layers before doing anything else to them. I wrap each layer individually in plastic wrap (usually I do two rounds of this) and then in foil. Once they are properly swaddled, I slide them into large Ziploc bags and pop them in the freezer. The idea here is to give the cakes maximum protection from freezer burn and to lock in the moisture. I leave them in the frosty environment for at least four hours, or overnight.
When I pull the bundles out, I let them defrost on the counter and then get to trimming. If you’ve ever leveled cakes before, you know the terrible situation where the cakes just flake apart, not fun. If you’ve frozen your cakes, this won’t happen! Just make sure you’ve defrosted enough that you won’t be pulling huge chunks out with the serrated knife. Freezing the cakes makes them noticeably easier to handle and that leads to more uniform layers that are all easier to stack. It also doesn’t hurt that the colder the cake is, the easier it will be to frost… more on that next!

Fun with Frosting
Some people love it, and others hate it, but despite polarized opinions on the subject- frosting is an absolute necessity for a good layer cake! Whether you like a lot or as little as possible, it’s an integral part of this whole process. Frosting is what ultimately seals in all of the moisture and also what holds everything together. Some might say frosting is the glue of a layer cake. The really fascinating thing about frosting is that it also doubles as decoration!
Here’s how I like mine…In terms of the actual composition, my favorite type to use is buttercream. Don’t get me wrong, cream cheese icing has its place, but if you only know one recipe for icing, make it buttercream! Practically all you need is butter, confectioner’s sugar, vanilla, heavy cream, and a pinch of salt. From there you can add other flavorings or colors if you’re trying to get fancy (I’m putting my go-to recipe at the bottom)!
The name of the game here is texture- you want a consistency that is workable, spreadable and able to be piped, yet you don’t want any chance of it melting or sliding off the cake. If you find your frosting is goopy or too soft, you can pop it in the fridge for a few minutes to firm up or just add more powdered sugar. If your frosting seems crusty, gritty, or isn’t sticking to your cake, you probably need to add more whipping cream and send it back to the mixer.
Another thing to address is the fact that you will not be able to get all of the icing completed in one fell swoop if you want to produce professional quality. I know, I know, this is turning into quite the time-consuming and arduous process- but it’s worth it if you can muster the patience! In the first stage you want to fill the cake between the layers (I use a piping bag to get a good, even spread). Then smooth a super-fine layer to coat the cake. You don’t want to go for perfection here, this is just the crumb coat- and it does just that, coats the crumbs and seals them inside so they don’t mess up the look of the cake. After you get this done, it’s back to the fridge for a few hours to set (or the freezer for a few minutes if you’re short on time).
Now you’re ready to really get the frosting going! For the exterior coating, you want to pipe it on thick and then continue to smooth until you have acomplished your envisioned texture! If you’re a perfectionist like me, this may be painstaking, but in the end it will be impressive!
After you’ve got everything iced, this is where you get to have fun! Let your imagination run wild! Just as a rule, always make a double or triple recipe of icing as close to using it as possible. You won’t run out and it’ll be nice & fresh!

Lifesaving Tools of the Trade
Thought I’d take a little intermission here to share my absolute favorite tools for cake decorating (by no means are these items necessary for turning out a good cake, but they sure do make life a whole lot easier). I personally enjoy having professional tools, but there’s nothing wrong with a plain knife to smear frosting and a regular plate to build the cake on. My collection has grown over the years, but I’ve gotten along fine with basic utensils- no need to heavily invest all at once!
I find that cardboard rounds help to support each layer and make it so much more straightforward to work with each tier individually. You can purchase pre-cut rounds in any size, but you could also just measure and cut from a box. While we are on the subject of cardboard, another thing I love is cardboard cake boxes because they protect the cake from elements and make transport less perilous.
Piping bags are something I use a lot! You can buy disposable or reusable bags in a whole array of sizes. Don’t even get me started on all of the different tip options (I’d say get a few basic ones and see what you use before you buy a huge selection). A hack if you don’t want to pay for these bags is to just use a Ziploc bag that you already have around the house- same concept and all you have to do is snip a corner off!
Offset spatulas are amazing for any kind of smoothing situation- from spreading batter around in pans to creating the ideal look with the exterior frosting, these are probably my most used tools! I have a large one and a miniature version- both of which I rely on regularly. Another item if you really want to get fancy with the icing is a spreader (typically a rectangular piece of metal that sometimes has different edges for creating texture or giving you that perfect finish).
These next items are super nuanced, so don’t feel like you have to purchase them if you’re not baking cakes pretty often. If you don’t have a turntable that rotates as you decorate, let me just tell you they change the game. Seriously, I can not even fathom what I did before this wonder came into my life. Definitely not necessary, but this will make you feel like a decorated pastry chef in no time! Another super-niche thing that I’m loving lately is my cake lifter. Sounds incredibly frivolous, and it is, but this is basically a huge spatula that you can use to help layer, stack, or lift up a cake. If you didn’t know, cakes can be extremely heavy and this gadget helps to defray that weight.
Like I said, none of these items are imperative, but they are fun to experiment with if you’re interested! And those who frequently bake will recognize the appeal of equipment that reduces hiccups along the way to a great cake. Note: this post isn’t sponsored, so I won’t promote any certain brands or products, but you can find everything I’m talking about online or in kitchen/housewares stores.
Different Decor
I’ll finish this marathon post with the finishing touches you can add to a cake. You really need nothing more than some extra icing to make an impact! On the other hand, this is where you can go crazy and bring in outside elements to really pack a punch!
If you’re going for a more simple look, you can use different frosting tips to pipe swirls or a border or add some fun color. Another simple idea is to ditch the decorative frosting and make a naked cake. You could even stick to plain white, smooth frosting.
If you’re looking to up the ante, bring on the intricate details. With some cakes, the more the merrier when it comes to adding personality. Want to add decorative piping, cover it in sprinkles, and also utilize color? Go for it! Want to get playful with a topper or creative candles? You got it! You can even add other desserts to make the cake pop- like cookies, macarons, fruit, candied peels, chocolate, etc. Just be sure to read the client or occasion before you go wild- sometimes more is more and sometimes more is tacky!
My favorite thing to add to cakes is a floral touch! Now this can be real or it can be edible, depending on the vision. Regular botanicals can truly make a cake stunning, and are incredibly easy to add. Just trim right below the flowers and wrap the remaining stem with floral tape to create a barrier. Then stick into the cake to your heart’s desire! Alternatively, if you are wanting to execute some skill, you can pipe flowers with icing for effect. For this, I’d recommend prepping multiple piping bags with icing and different tips before you start, so you can layer as you want. To take flowers to a new level of detail, place pearlized sprinkles in the centers or along the edges for dimension and shine.

And there you have it- everything you could possibly ask me about making cakes, explained. If you read the entire post, I hope you found it valuable or intriguing. If you thought it was TMI…well, you probably didn’t make it this far! With some thoughtful preparation and a structured approach, you can absolutely create your own masterpiece— or you can always call me to see if I’m up for the task (not kidding!).
RECIPE:
Buttercream Frosting:
2 sticks of unsalted butter
3 cups of confectioner’s (powdered) sugar
2 tsp to 1 tbsp of vanilla extract (depending on your taste)
2 tbsp of heavy whipping cream
pinch of salt
*mix butter and half of the sugar, add vanilla and mix, add other half of sugar and mix, add whipping cream and salt and mix. add more whipping cream and/or powdered sugar until the desired texture is created.